XTZ660 Pannier Rack
I have a Yamaha XTZ660 which was registered in 2001
I have Hepco & Becker engine bars which seem very good quality and fit the bike perfectly and H&B seems to be the only people still manufacturing a pannier rack suitable, but these are for the standard exhaust.
I wanted a pannier rack that suited my narrower Laser exhaust and allow a wider pannier box on the exhaust side.
I decided that to get what I want then I would have to make my own.
I considered buying pre-formed loops from Touratech but decided that as these are 2mm wall tubes, then they would not be as strong as a solid bar, and as I do not have a big welder, only an electric arc, then it would be easier for me to weld a solid bar without losing strength.
There are places on e-bay where mild steel bar can be purchased, but I got mine from a local engineering company,
I used 2 @ diameter 16mm x 1200 mm long for the loops, and 2 @ 6mm x 30mm x 1000mm long for the other bits.
I also had to make 4 collars from diameter 25mm x 30 long aluminum, and I bought some bolts 4 @ M8 x 90 cap Allen, and 6 @ M8 x 25 cap Allen & 4 nylock nuts
The whole lot cost about £40
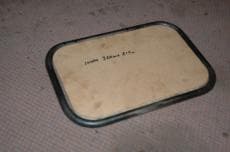
I asked the engineering company if they could bend the loops for me with the aid of heat from an OxyAcet torch and they asked me to make a template of the inside of the size I wanted, I owe them a bottle of scotch for this 🙂
I trust that the pictures will explain the rest
The only tools needed are a hacksaw and file, a good vice and a 7lb hammer, an electric drill and an electric welder, and 12 qty diameter 2.5mm welding rods
Oh and I already had some leftover black paint.
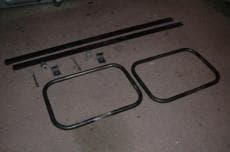
The loops as kindly bent to match my template
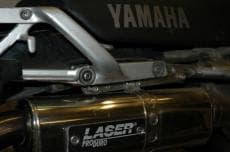
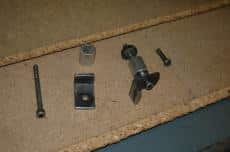
30 X 6 bent at 90 degrees with collars to space 30mm out from the existing rack
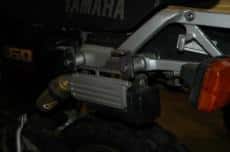
The left side front bracket needed to be 25mm longer than all the others, I found this out the hard way and had to remake this one
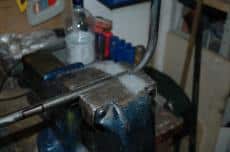
filling small flats for where the loops sit onto the 90-degree brackets
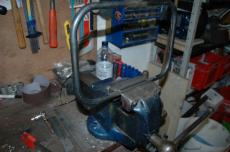
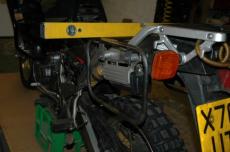
Ensure the bike was level before clamping the loop to the brackets and use the level to ensure the loop is true to vertical
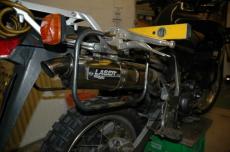
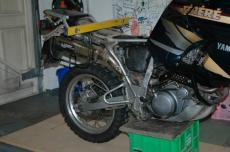
I set the rear of the loop to be 10mm in front of the side indicator (flasher)
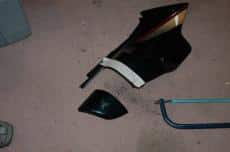
Unfortunately, the fairing needs trimming for the loop and pannier box to clear
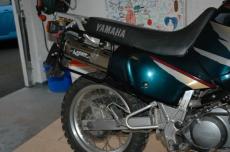
A strap of 6 x 30 steel was bolted behind the pillion foot hanger and welded to the front of the loops
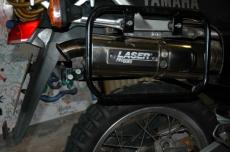
A rear cross brace was bent with a 90 degree at each end and bolted to flat brackets welded to the rear of the loops, This just clears the underside front of the license plate mudguard
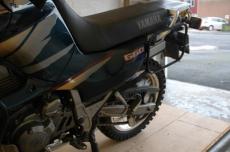
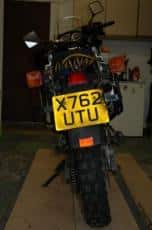
The symmetrical loops are 410 mm overall width. All I need now are some pannier boxes at approx 250mm each, which I will set to be level with the seat so that my roll bag can sit across the tops I tried striping the indicators to remove the rubber extensions so that I could use 450mm long boxes instead of 360mm, but this would not work with the design as is, so I will have to re-address this |

